Teeth in a Day Prosthetic Steps
In this clinical example after enough implants are placed the patient can leave the same day of surgery with a temporary fixed acrylic denture. In many cases the patient’s existing denture can be retrofitted for the prosthesis, providing further cost and time savings. This assumes the implants being immediately restored are of adequate number and size, and have demonstrated initial stability as determined by appropriate diagnostic methods. Implants not meeting these criteria should not be restored using this protocol and be allowed to heal for four to six months for complete fusing to the jawbones.
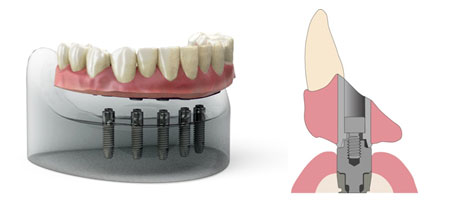
Abutment for Screw (ABS)
These specialized implant parts are used as a connector between the implant body and the patient’s gum tissue. The reason for this to put the restorative platform of the implant bodies above the soft tissue. Small diameter implants are not recommended for this application.
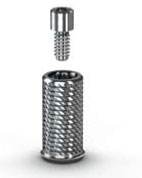
Instant Fixed Overdenture Abutments (INFO)
This abutment is used with the Abutments for Screw shown above for fabrication of immediate provisional overdentures.
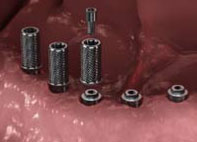
Seat INFO Abutments
The cover caps are removed from the Abutments for Screw and the INFO Abutments are seated on the ABS and hand-tightened with the retention screws. The screw-access channels blocked out with cotton swabs to prevent ingress of acrylic during the pick-up procedure.
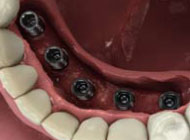
Relieve Denture
Mark the location of the immediate load abutments inside of the denture. Use an acrylic bur to relieve the denture to allow interference-free seating over the INFO Abutments. There needs to be at least 2 mm clearance between the acrylic and the abutments. The abutments may require reduction in height to allow the patient to bite together lightly. The abutments are marked as required, removed from the patient & adjusted as needed. After adjusting return the abutments to the patient and hand-tighten.
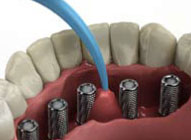
Pick-up Abutments
After verification of passive fit of denture over the seated INFO Abutments, use a pick-up material to retrofit the abutments into the denture with the patient biting in light occlusion.
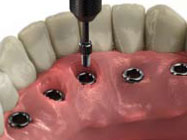
Remove Denture with incorporated Abutments
When the pick-up material has cured, remove the swabs and un-thread the abutment screws to remove the denture.
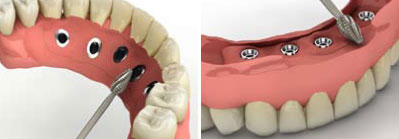
Modify Denture
Fill any voids around the abutments with acrylic. Cut and trim all of the flanges, however there must be at least 3mm of acrylic around the abutments. The prosthesis must be cleansable around the abutments & the extension of the denture is modified for the patients bite.
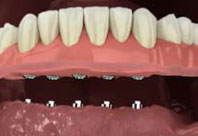
Verify Occlusion & Deliver Prosthesis
The prosthesis is seated on the ABS abutments and adequate clearance and the bite are verified. Adjustments are made as necessary to eliminate all unwanted contacts. The screw access channels blocked out with a resilient material. The provisional prosthesis is now fully implant-supported. Dismiss the patient with home-care instructions. The temporary nature of this prosthesis is again reviewed with the patient and the patient is scheduled for the necessary appointments to create and deliver the final restoration after the three to four month healing period.
For more information on dental implants, please visit dentalimplantsottawail.com.

